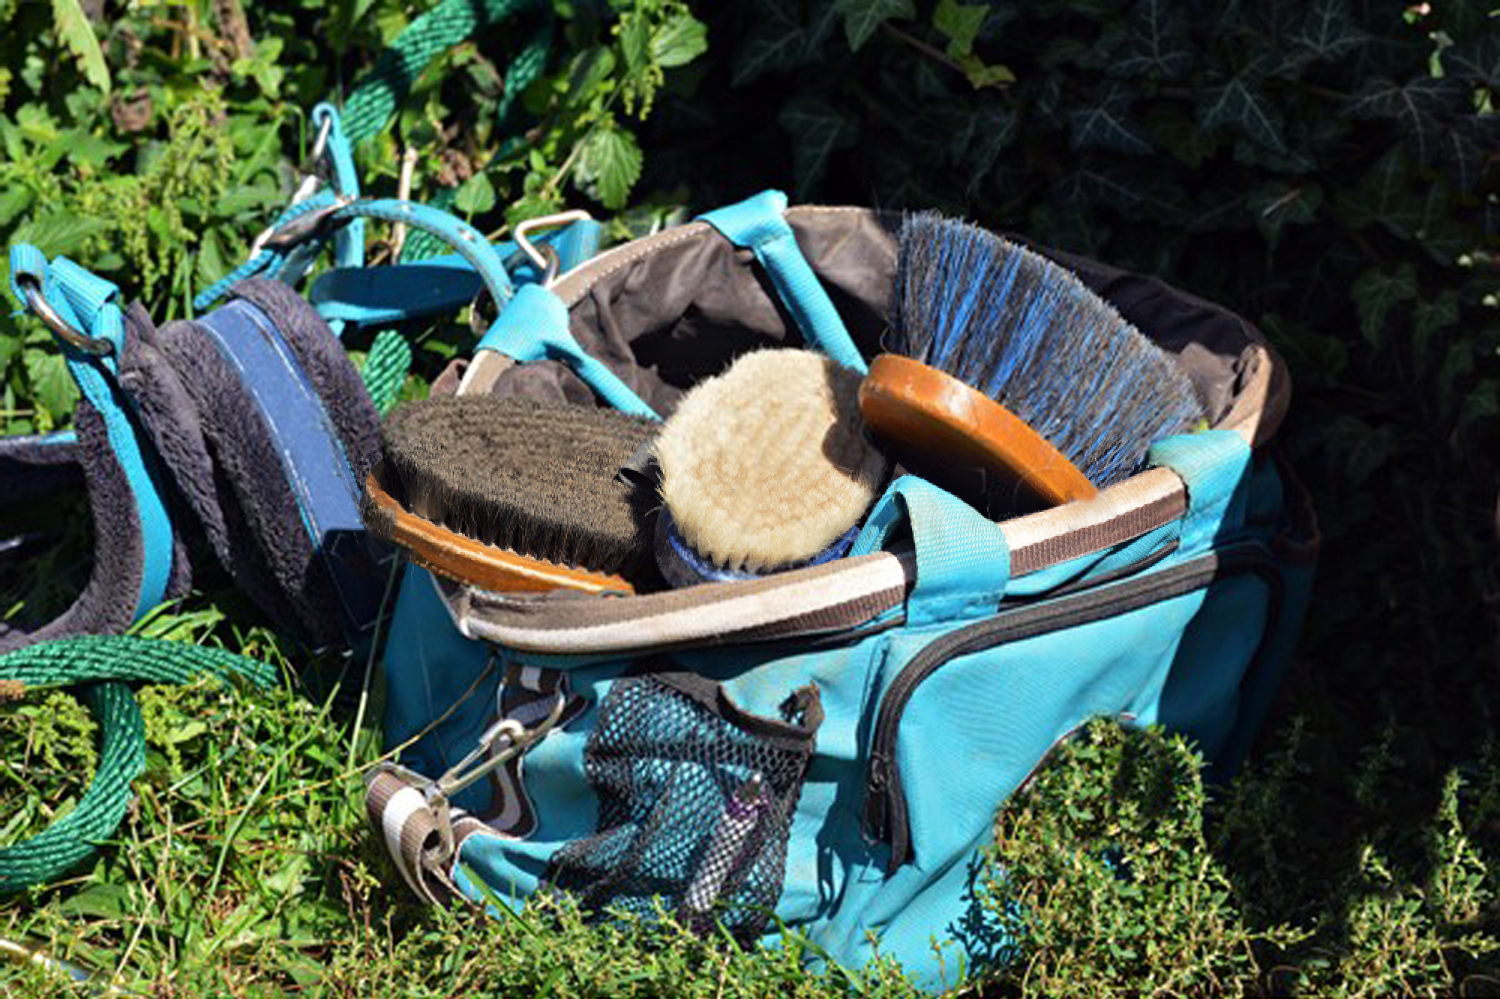
Our grooming kits get a lot of use throughout the year brushing through dirt, grime, and sweat. To ensure they continue to clean and remove debris as they should it is important to keep them clean. Here are the steps we take to ensure our favourite artificial grooming tools are squeaky clean and ready for use.
Step One: Remove as much loose dirt and hair as possible
This is best achieved by brushing or lightly knocking your brush on a hard surface, or by using a curry comb to run through the bristles to help remove as much dirt and debris as possible.
Step Two: Grab your bucket and soap
Utilizing a bucket large enough to contain your brushes, begin by adding a soap (we love using Dawn as it cuts through oil) and fill it with warm water until the desired depth and suds are created.
Step Three: Suds Up The Brushes
Take each of your brushes and place them in the bucket with suds. For the best results we like to scrub them with another brush, or against the side of the bucket to try and release any dirt and grime caught in the bristles. Allow the brushes to soak for 20 minutes.
Step Four: Rinse
Remove your brushes from the suds and begin to rinse your brushes ensuring all the soap residue is removed.
Step Five: Drying
Place your brush bristles down on a clean surface in sunlight. For brushes that have wood backs/handles, be sure to turn them on their backs once the bristles are dry to ensure that the wood areas have ample time to dry.
If you have natural bristle brushes, leather backed brushes, or a brush that needs a gentle approach to cleaning check out our other guide: Tips For Cleaning Your Natural Bristle Grooming Brushes.

